First of all, we watched lots of YouTube videos on grinding venison. It looked straightforward and simple.
It will be simple, now that we have successfully completed our first attempt. Aren’t all new tasks and experiences like that? We learned so much about what to do and what not to do after first doing it.
Lessons in life.
We did many things right, but equally as many wrong.
First, we took the venison and pork out of the freezer to partially thaw before we started processing the meat. Partially frozen meat cuts and grinds easier. That was good.
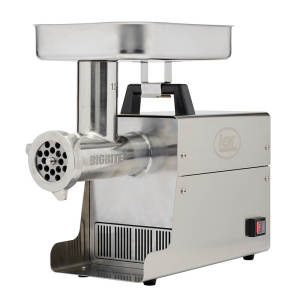
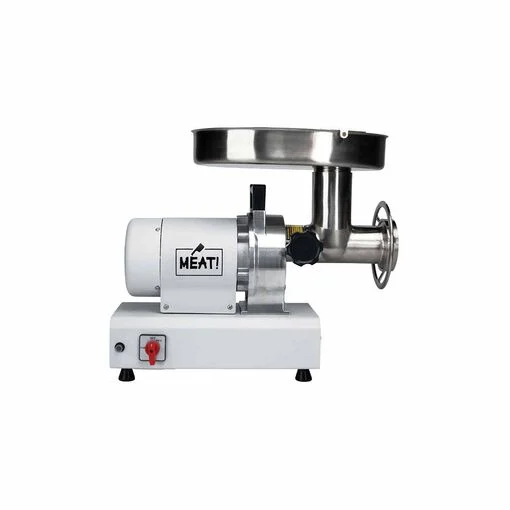
Next, we took the grinder apart and cleaned all the factory parts, that was good. What wasn’t so good is that Jan put the parts back in backwards. Not so good, but not a disaster either. We realized quickly that the grinder was not grinding correctly and shut it down, unplugged the unit and set things right. Whew!
Not so good, we wasted some time taking the cutting wheels out and exchanging them and making sure they went in correctly. Good was, we always unplugged the grinder while we were handling the blades and cutting wheels.
All versions of YouTube were a bit different, some mixed their venison with pork, others with beef, and some with rendered and processed fat. There was also a discrepancy in the amount of fat to venison. We went with the 70% venison to 30% pork ratio. However, we purchased pork butt roasts and when we did the calculation, we didn’t take into account the bone in the pork roast. So, we basically ended up with a leaner burger, more like 80% venison to 20% pork fat ratio. That is neither good or bad, more a matter of taste and we felt the taste was very much to our liking.
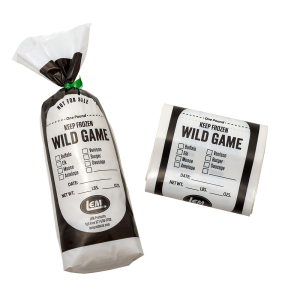
We had a great set-up. The meat was already cut and cleaned of tendons, bone, and muscle. We just needed to cut it into chunks that would fit into the funnel of the auger. Tom cut and Jan did the grinding. Our system worked smoothly and we ground over 30 pounds of burger fairly quickly. We did the course grind first, then the fine grind for the burger. It was all good, however, had we been thinking ahead, we would have packaged the meat during the second grind. We didn’t and had to run the meat through a third time so we could stuff it into the sleeves, thereby extending our processing time. We did not grind a third time, we basically sent the meat back through the auger to stuff it into the sleeves.
All in all, the first process went pretty well, and we had fun learning. Tom previously took his venison to the butcher to process and at that time, it cost around $5.00 a pound to process. And even though the butcher tells you it’s your deer, how do you know it truly is, unless you stand and watch? Tom has shot the animal in the head and gets meat back with bloodshot hams and shoulders, how does that happen? How do you know you are getting all of the meat from the deer you harvested? Does he trim the rib meat? Did you get the cuts you were expecting? So many questions.
What we know is; it was our property, our kill, we cleaned it and prepared it for the freezer. We then processed the burger, in our shop, on our equipment, and packaged it the way we chose. From start to finish. The cost? One bullet, our time, the grinder (buy a quality grinder which is an investment for years), the pork, and the packaging material. We highly recommend, if possible, that you do your own processing. The savings are incredible and you are getting clean, unadulterated, non-hormone injected meat.
Next up: we’re making venison salami. We are looking forward to the next lesson and the salami!